Background remover
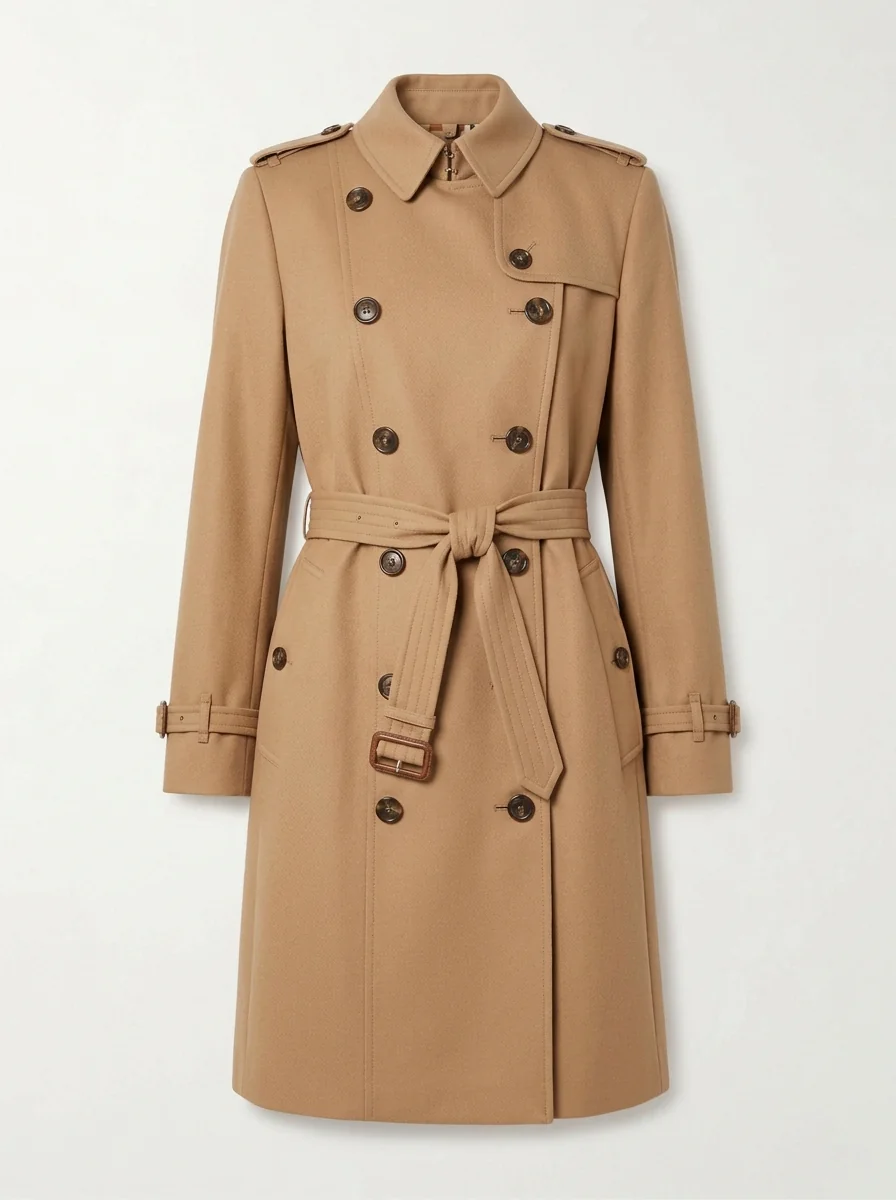
Start with the sample trench coat, or add your own garment photo. Move the tolerance slider and watch the edge change; the result updates as you go.
Runs in your browser. Images are not uploaded.
Choosing the source image
The quality of a cutout is decided before you start, by the photo you start from.
- A plain, even background. White, grey or any flat color works, as long as it is clearly different from the garment. Shop photos on white are the easiest case.
- Contrast with the garment. A cream knit on a white background is hard for any method, including careful hand work. A black skirt on white is trivial.
- The whole garment in frame. A cropped sleeve or hem can't be put back later.
- Invisible mannequin or flat lay, not a model. On a model, arms and legs are part of the picture and come out with the garment.
- Clean edges over pixel count. A sharp 800-pixel image cuts out better than a blurry 3000-pixel one. Heavy JPEG compression leaves blotchy noise around edges, which the remover can mistake for garment.
How the remover works
The tool here does what a careful person with a magic-wand tool would do, automatically:
- It samples the four corners of the image and takes the average color of each, assuming the corners are background.
- It floods inward from each corner, marking every connected pixel whose color is close enough to that corner's color. Tolerance sets how close is close enough: low values remove only near-identical pixels, high values also remove soft shadows and gradients, and eventually the edges of the garment itself.
- It softens the edge. The boundary between kept and removed pixels is blurred by the Soft edge amount and then tightened slightly inward. This avoids a jagged staircase edge and trims the thin pale line that usually clings to a garment cut from a white background.
- Optionally, it clears enclosed gaps. The flood can't reach background that is fully surrounded by the garment, like the space between a sleeve and the body. The gaps option also removes pixels anywhere in the image that match the background color closely.
Everything happens in your browser on your own device. Because it relies on a plain background, it is fast and predictable, but it won't handle a garment photographed in a cluttered room.
Fixing common problems
A pale halo around the garment
Raise the tolerance a few steps, then add one more step of soft edge. If the halo is a shadow cast on the background, a higher tolerance usually clears it.
Holes in a white or light garment
The background and garment colors are too close and the flood has leaked inside. Lower the tolerance until the holes close. If they won't close without leaving background behind, the source photo doesn't have enough contrast; photograph the garment again on a darker surface.
Background trapped between sleeve and body
Turn on the gaps option. Check the result: if the garment has areas the same color as the background (a white print on a white-background shot, for example), those will be removed too, and you are better off with gaps off.
A hanger, tag or mannequin neck left behind
The remover keeps anything that isn't background. Crop the image before you add it, so the unwanted part is outside the frame or touching the background, or erase it afterwards in a photo editor.
Everything disappeared
The tolerance is so high that the garment counts as background. Lower it. If a corner of your image is covered by the garment, the remover samples the garment as background; leave a margin of background on all four sides.
Photographing your own clothes for a cutout
To try clothes you already own in the overlay tool, photograph them so they cut out cleanly:
- Hanging is better than flat for overlays. A garment on a hanger against a plain door hangs roughly the way it does on a body. Flat lays tend to spread sleeves sideways.
- Pick a contrasting backdrop: a white sheet for dark clothes, a grey or colored one for light clothes. Smooth out wrinkles in the backdrop; they show up as shadows.
- Use daylight from the front or above, so the garment casts as little shadow onto the backdrop as possible.
- Shoot straight on, phone parallel to the garment, so it isn't stretched into a trapezoid. Leave background visible on all sides.
- Remove the hanger hook from view if you can, or crop it out later.
PNG, WebP or JPG?
JPG can't store transparency: a cutout saved as JPG gets a solid background again, usually white or black. Use PNG for cutouts you want to edit or reuse anywhere; it is lossless and keeps soft edges intact. WebP also supports transparency at much smaller file sizes and works in current browsers, which is why the preset garments on this site are WebP files. The download here is a PNG, the format every editor opens.
Using the cutout
Add it in the overlay tool under “Your own garment”. If you already removed the background here, untick “Remove plain background” there so the edge isn't processed twice. For layering several cutouts and lining them up on your shoulders, see how to put clothes on a picture.
For an AI try-on you don't need a cutout at all: FitInView takes a photo or a shop link of the garment as it is, and shows it worn on your photo.